Hello everyone! Steven here. Thank you for joining me in today’s discussion on how to take the best pictures of your corals, and to successfully find a nice new home for them!
Before we start, if you enjoy my content and wish to see more reef aquarium related discussions, please help support me by liking, sharing this video, and subscribing to the channel. I also love to hear from you so please feel free to comment or post your questions below.
- Equipments: You don’t need a state of art equipment to take good reef photography. I have taken most of my photos simply using my iPhone. As of late I have been supplimenting my content with video footages using a GoPro camera. So if you are interested in making some underwater photos or footages, please do not dunk your phone into the water even if they are claimed to be water resistant (not waterproof).
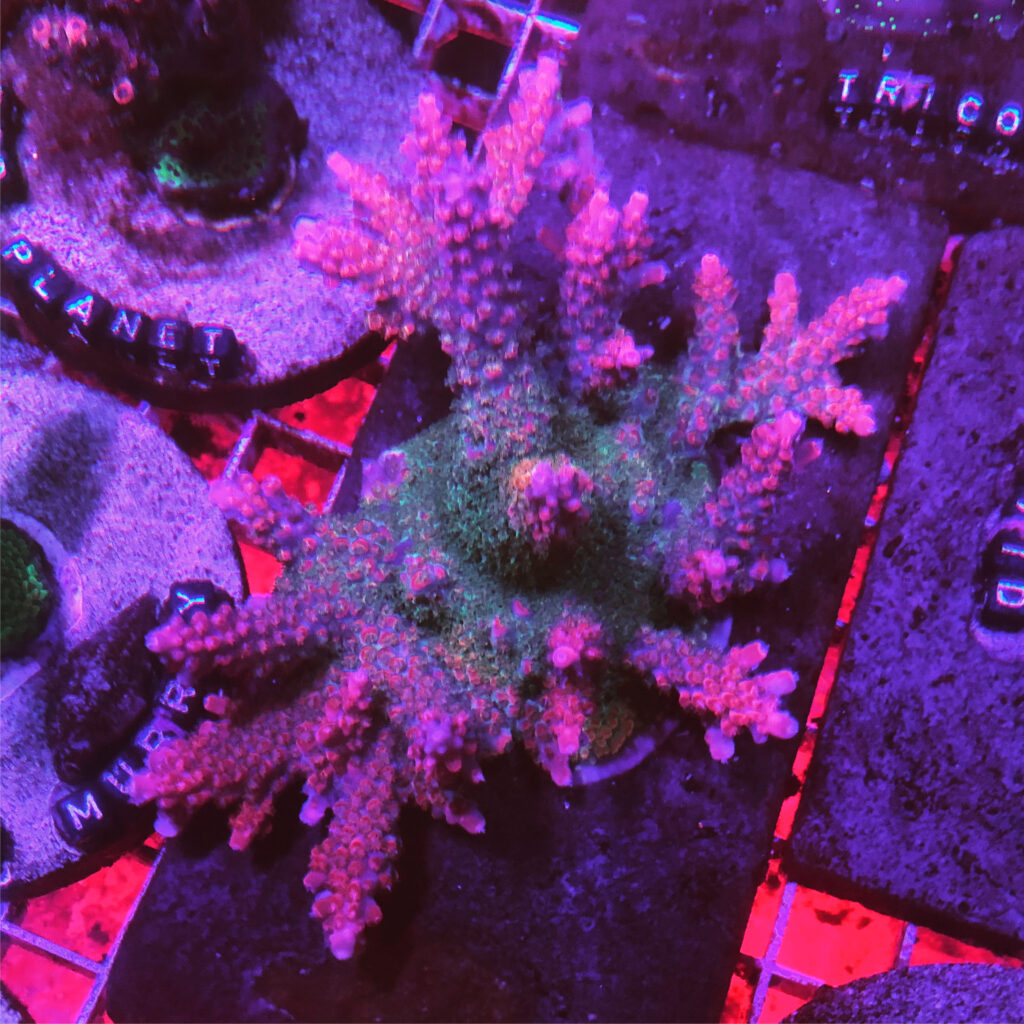
- Lens filter: This is almost a must have if you wish to achieve the same bright color you typically see online retailers display in their corals. The reason why they are able to extract the coral’s vivid color is 100% lens filter. Is this cheating? No, absolutely not. You see, digital cameras’ photo sensors come in a form of millions of receptor units. Each unit contains four quadrants. Each quadrant is responsible in capture one primary color: Red, Green, and Blue. Wait a minute! you just said four quadrants and that’s three colors! Yes, the one extra quadrant is assigned blue. Therefore, unless your camera has a sophisticated white balancing system, photos will always contain more blue than what reaches our naked eyes. This is particularly problematic when most of the reefers use “Actinic” color light with extra blue spectrum. Here is where the orange lens filter comes into play- it helps reduce the amount of blue light reaching the photo sensors, and allowing the camera to capture colors closer to what we see in the naked eye.
3. Macro Lens: If you are using your smart phone, you can easily obtain a clip on macro lens to allow you go all the way in to show off those tiny stony coral polyps. If you are using a DSLR or GoPro, sorry you’ll need to invest on something a bit pricier.
Now that you got all your weapons: camera, filter, and macro ready. What do you do?
- Lighting: In general online coral retailers take their photos under a lot of blue light, if not all blue light. This helps make the colors “pop”. Some retailers with a bit more ethics will display the same coral under various lightings, light these guys. So you are looking to achieve the maximum color intensity, crank up your blue and clip on that orange filter!
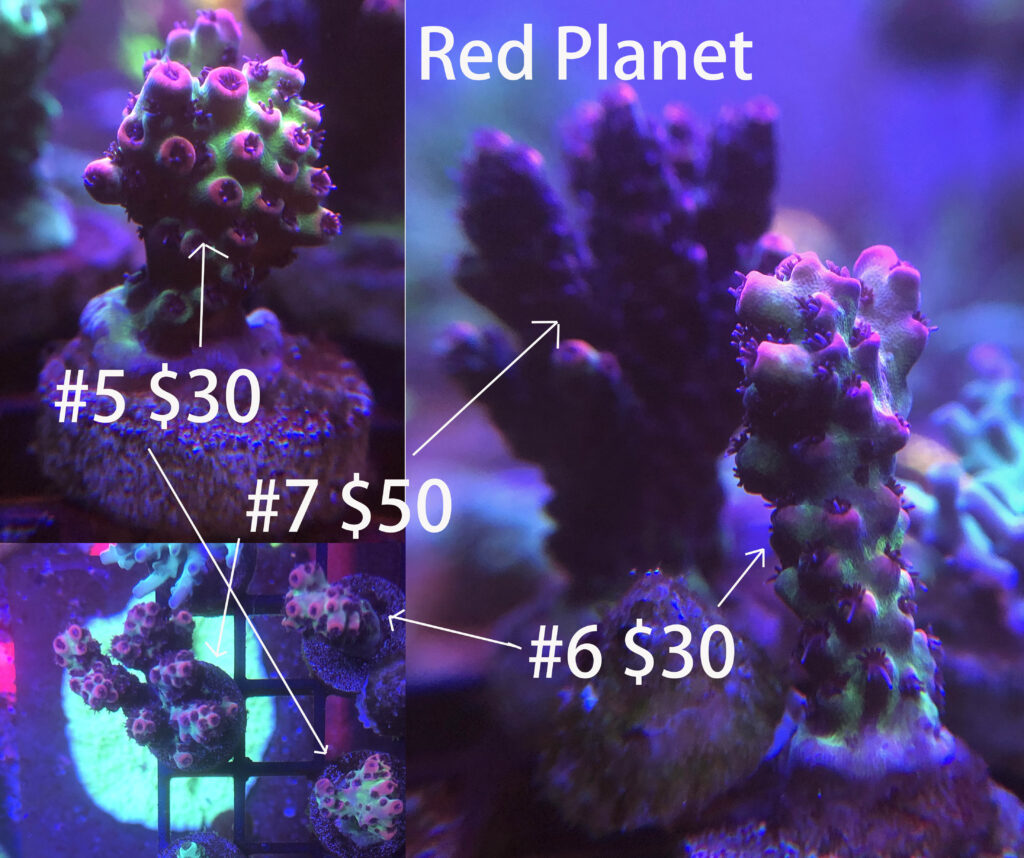
- Angles: Most people are satisfied with a side shot to illustrate the coral’s size, how many branches, and any color morph from base to tip. But if you are a seasoned reefer you know the best angle to look at a tank is from the top. So I’d always recommend include a top-down shot to compliment your side shot, especially for LPS corals.
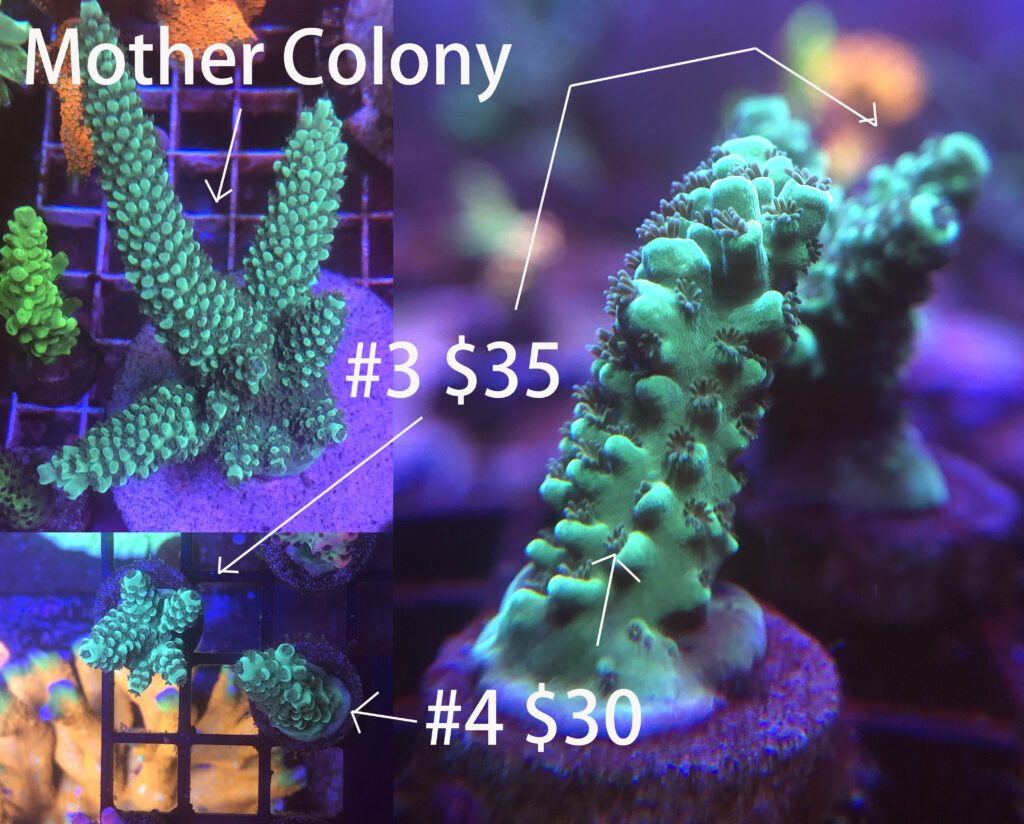
- Frags vs. Mother colony: Lots of the time a tiny frag is not the best representation of what the colony can achieve as far as shape, color, and size. So it’s never a bad ideal to also collage in a picture of the mother colony if there is any room for improvement between the frag and the colony to help buyers manage expectation.
- Flow: Probably doesn’t matter too much when shooting from the side, but top down shots might be helpful to shut the water flow off unless you have a waterproof camera to take wet footages.
Misc best practices:
- Some “best practices”: take photos when you know your corals polyps are the fullest and most extended. For some reason a lot people like to take polyp extension as a sign of health, even though they aren’t always the best indicator.
- Clean the algae off if needed, just looks better.
- If there is any aptasia, remove/kill them, you definitely will not find a buyer for a frag with aptasia.
- Wait for the frag to heal for 3-5 days minimum before you sell them. Just common courtesy.
- Do NOT lie about size, color, species or nickname. If you do not know, just say you don’t know. A good photo will speak for itself.
- Some advanced aquarist will also want to know your current lighting, water flow, etc to ensure a smooth and safe transition. It’a always a good idea to volunteer those info ahead to avoid a lot of back and forth.
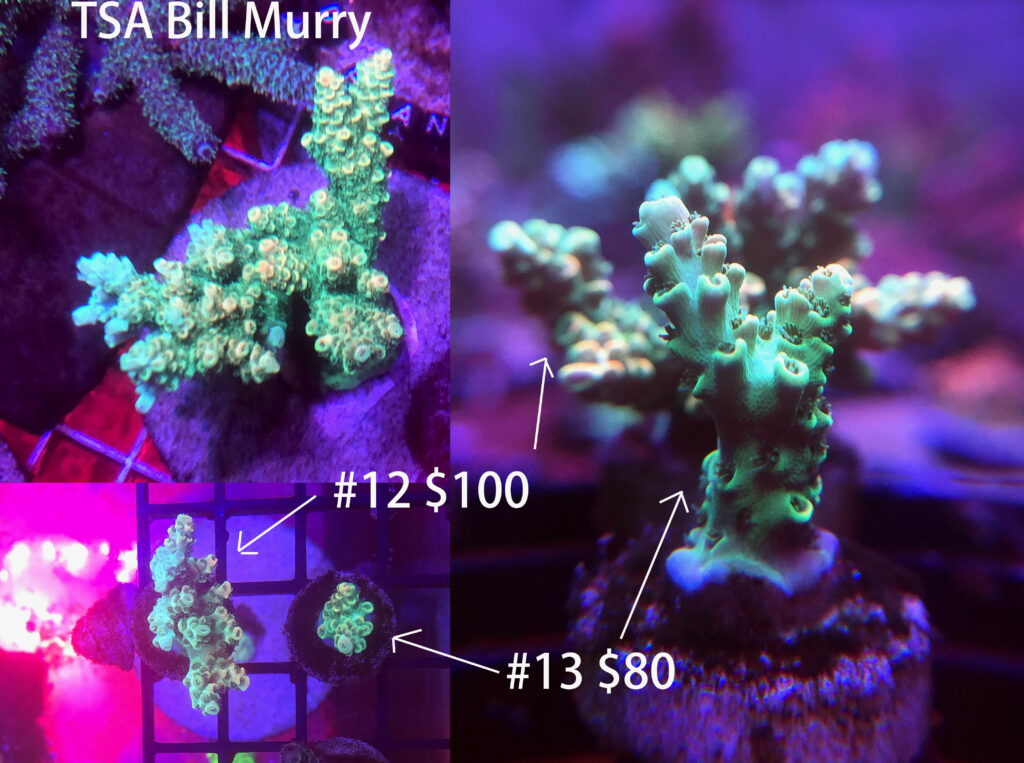
- Do your research on pricing- With so many retailers online available, it’s not difficult to find a piece that’s comparable to yours in size, color, or rarity. While you don’t want to grossly underprice your frag, let’s also not make it an opportunity to rip off some less experienced newbies. Personally I do this for fun, so I typically price my frags 30-50% less than regular retail.
